With 18 different export types, you have a lot of choices for your project deliverables and supporting report documentation. But, when it is time to export your data, you only want to see those export types that pertain to a particular project.
Similar to the Survey Form Libraries, we have Export Libraries. As a part of your project setup, you will choose which export types you want to use for a particular project from the Wildnote Export Library. This action is found under the Project Admin menu, where you find all project setup tasks.
There are three tabs, just like in the Survey Form Libraries: Project Library, Company Library and Wildnote Library.

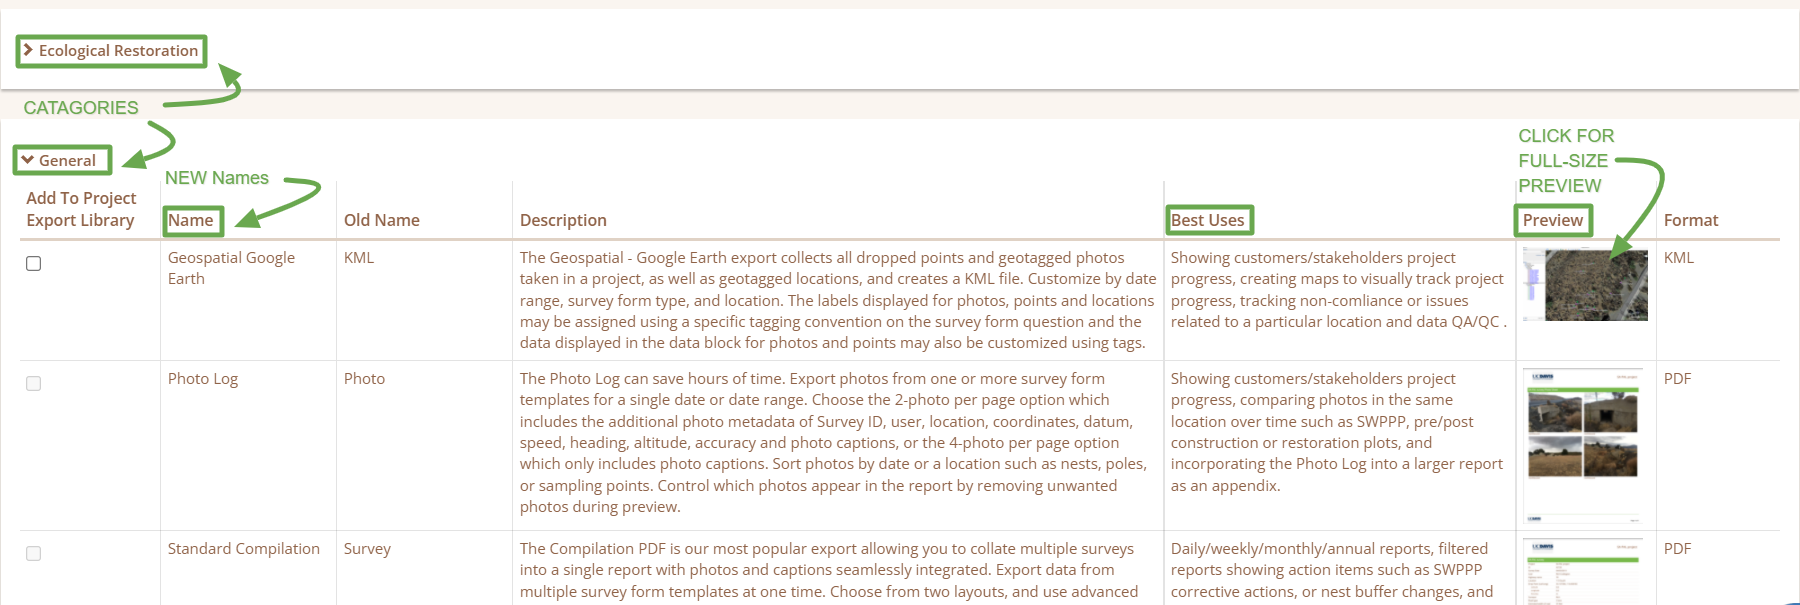
In the Wildnote Library, export types are grouped by new categories. You'll notice that we've updated some of the export names, and added a Best Uses column and a Preview for each type.
Once you add the export types to your Project Library, those will appear in the Export list when you are ready to export your data.
Adding the Export Types:
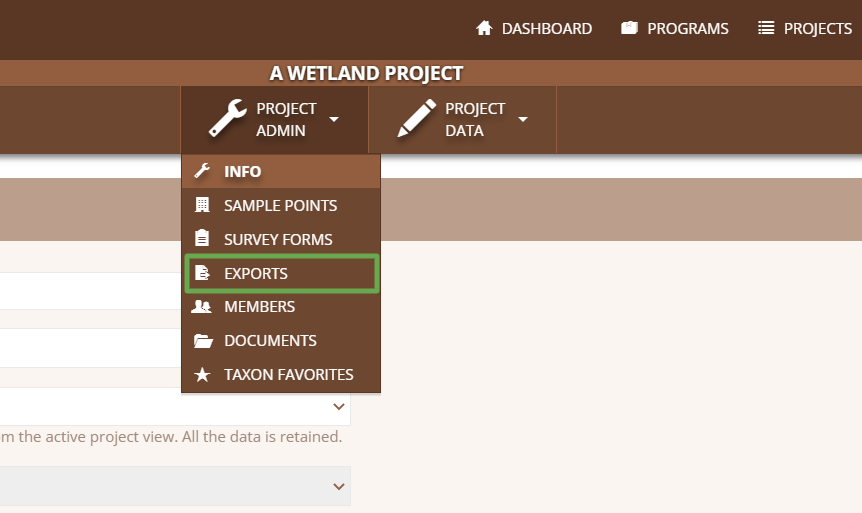
1. Go to Project Admin>Exports
2. Click on the Wildnote Library
3. Expand the individual categories by clicking the chevron, and click on the thumbnail to see an example.
4. When you find the desired export type, place a check in the box to the left of the name and choose the  button in the bottom left corner of your screen. You may add multiple types at one time.
NOTE: When you add the export types to the Project Library, it also adds them to the Company Library thereby building the list of unique exports that your organization uses. The next time you start a project, you can add the export types directly from the Company Library.
You can also remove export types that are no longer relevant to a project.
1. Go to Project Admin>Exports
2. In the Project Export list, place a check in the box to the left of the export type you wish to remove and choose the  button.
Exporting Your Data
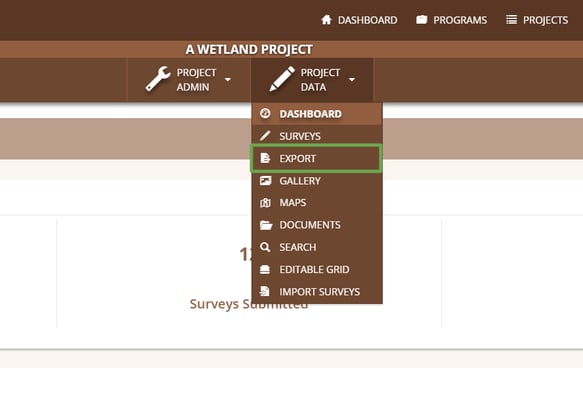
This workflow has not changed. The only difference is that you will ONLY see the export types that you set up in the previous step. Go to Project Data>Export to run your reports.
In the Wetland Project example below, only three export types are displayed, as those were the three that were selected during the export set up process. The visual clutter is eliminated and you can quickly find what you need! If you realize you'd like to export your data in another format that is not listed, simply go back to Project Admin>Exports and add the desired export type.
NOTE: Only those with the role of Project Admin can add and remove exports types from the project.
